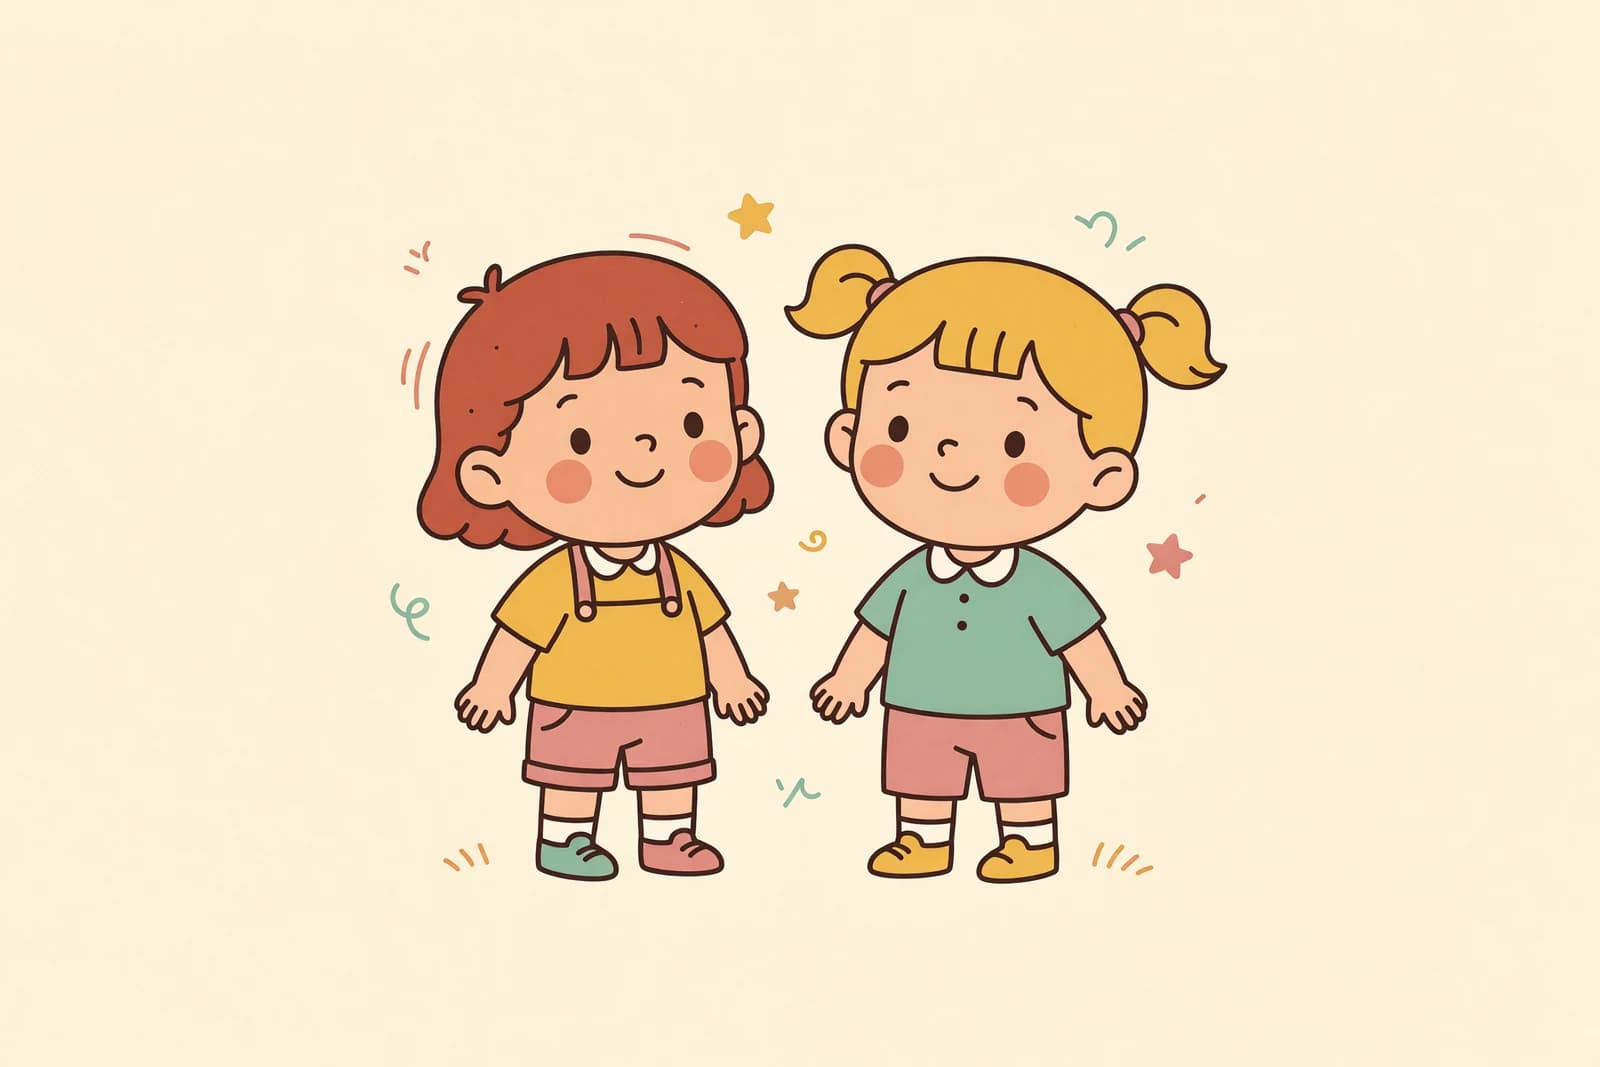
Learn how to draw children the easy way. A step-by-step guide to child body proportions, head-count sizing, and bigger eyes, from light guides to a finished kid figure.
A child is not just a tiny grown-up, and that one idea is the secret to drawing kids that actually look like kids. The shapes are different, the head is bigger, and the eyes sit lower on the face. In this guide you'll learn how to draw children step by step, starting with light guide lines, then simple shapes, then the features that make a kid look young and sweet. We'll use the head-count method to keep everything in proportion. No experience needed, just a pencil and a little patience.
We'll draw a standing, front-facing child, since that's the clearest place to begin. Keep your first lines light and loose so they're easy to erase later. Let's start.
What you'll need
- A pencil and an eraser
- Plain paper
- Optional: a black pen for outlining, plus colored pencils or markers
How to draw children step by step
Step 1: Set the height with head-counts
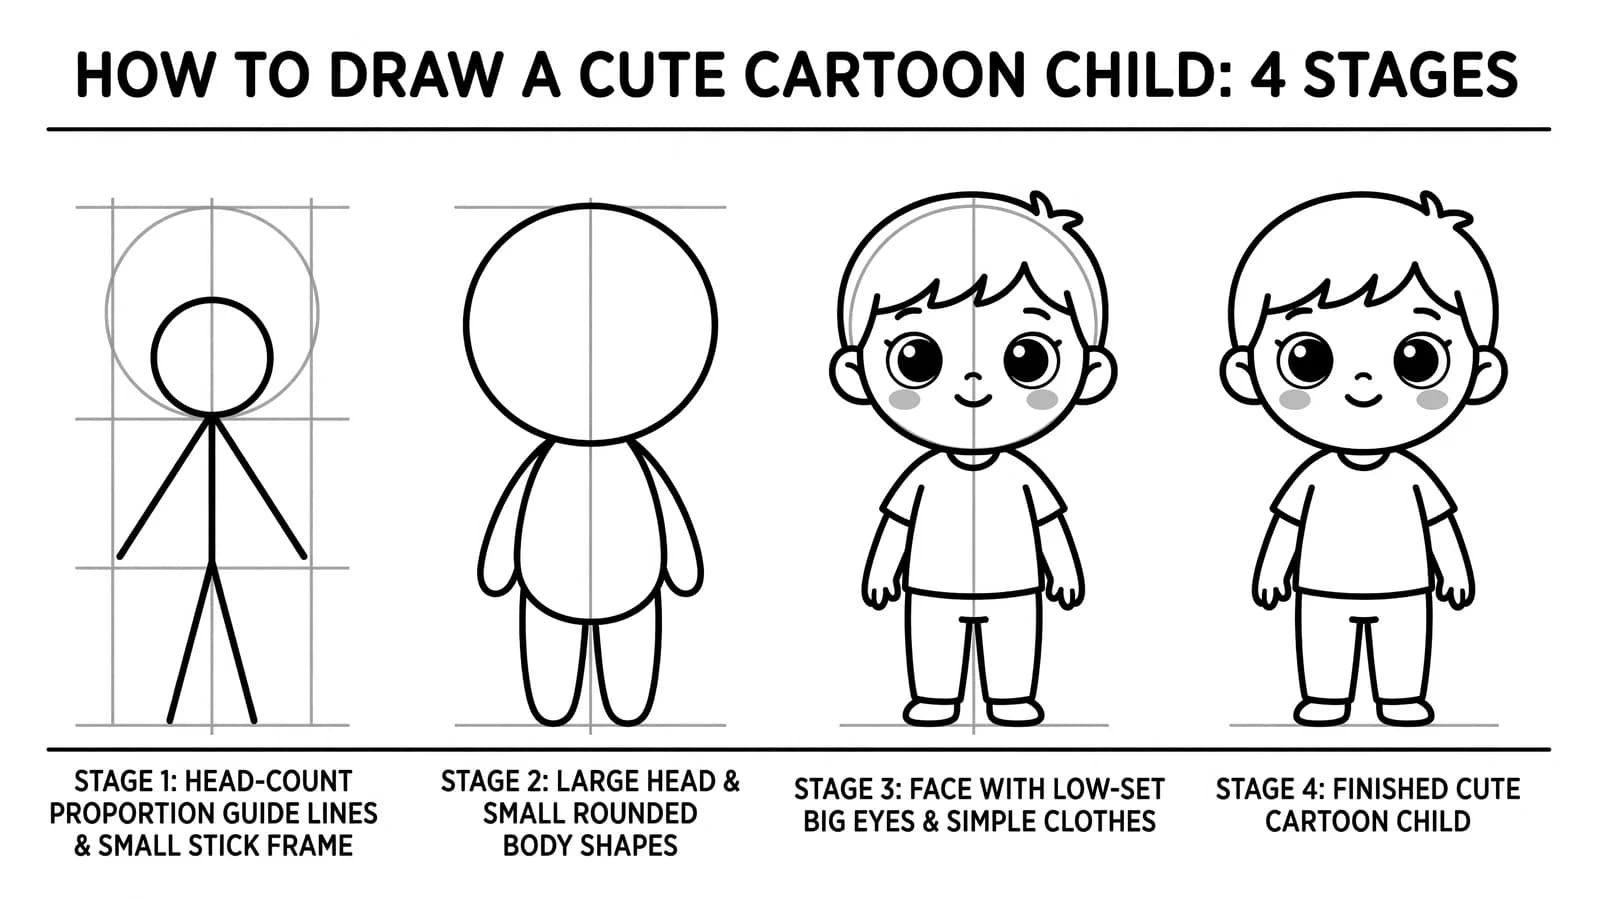
Here is the most important rule, and it's the one beginners skip. A child's body uses fewer head-lengths than an adult's body. The art-paper maker Canson notes that a six-year-old is about six heads tall and a twelve-year-old is about seven heads tall, while a grown adult is about seven and a half to eight heads tall. Younger kids are even shorter, closer to four or five heads. The younger the child, the bigger the head looks compared to the body.
Lightly draw a vertical line. If you're drawing a young child, mark it into about five equal head-length sections from top to bottom. That top section is the whole head, and it should feel large. This single step does most of the work for you.
Step 2: Block in the big shapes
In the top section, sketch a big rounded oval for the head. Make it generous, since a large head is what reads as "young." Then add a soft shape for the chest and a shape for the hips lower down. Kids' drawing teachers at Vox Illustration suggest building characters from circles, ovals, and rectangles first, then adding details after. Don't draw anything small yet.
Step 3: Draw the stick frame for the pose
Down the center of the body, draw a gentle line for the spine to set the pose. Branch simple lines off the chest for the arms and off the hips for the legs. On a child, the arms and legs are shorter and a little chubbier than an adult's, so keep them stubby. The hands fall around the middle of the figure. This stick frame is your skeleton.
Step 4: Add volume to the arms and legs
Thicken those stick lines into soft, rounded tubes for the arms and legs. Use gentle, pudgy shapes instead of long thin ones, and round off the joints at the shoulders, elbows, knees, and hips. Kids have rounder, softer limbs than adults, so avoid hard angles. The body should start to feel solid now.
Step 5: Place the face guides and big eyes
Here's the second key to a young face. Draw a horizontal line across the head for the eyes, and place it low, around the middle of the head or a little below. The step-by-step lesson from Cartooning Club How to Draw shows that on a young cartoon kid the eyes sit low on the head, well below the halfway point you'd use for a typical adult. Draw the eyes large and round, leave a little gap between them, and keep the nose small with a short distance up to the eyes. A small mouth sits between the nose and the chin.
Step 6: Refine the hands, feet, and outline
Sketch the hands as little mitten shapes first, then add short, soft fingers. Shape the feet as small wedges. Draw a clean outline around the whole figure, following the rounded volumes you built. Keep the lines smooth and a bit plump. Don't get lost in tiny details yet.
Step 7: Add hair, clothes, and finishing touches
Draw the hair as one big shape over the round skull, then add simple clothes that follow the body's forms. Trace your final lines with a pen if you like, erase the head-count guides and the stick frame, and add color. Soft cheeks and a big smile will make your kid feel friendly and alive.
What artists recommend (and common mistakes)
- The number one mistake: drawing a child as a small adult. Canson notes that children do not share adult proportions and that the younger the child, the more room its head takes up, yet beginners often draw kids as simply shrunken grown-ups. Shrinking an adult will never look right, so fix the head-count first.
- Build from simple shapes before details. Vox Illustration lists over-detailing too soon as a common problem and advises starting with shapes, then adding features. Block in the head, body, and pose before you touch the eyes, hair, or clothing.
- Set the eyes low and large. A high, small eye line is what makes a face read as adult. Dropping the eyes toward the middle of the head, as the Cartooning Club How to Draw kid lesson shows, instantly makes a face look young.
- Keep early lines light. You'll erase the frame and guides, so don't press hard.
Fun variations to try
- A toddler: Use only about four head-lengths, make the head even bigger, and keep the arms and legs short and round. Big head plus stubby limbs reads as "very young."
- An older child or tween: Stretch toward six or seven head-lengths and slim the limbs a little. The body gets longer and the head looks comparatively smaller.
- A cartoon kid: Push everything further. A huge round head, giant eyes, and tiny body make a cute, storybook character. Nudging the features slightly off perfect symmetry keeps the face lively rather than stiff.
- A realistic child: Measure carefully with the head-count, keep the eyes large but natural, and add soft shading to round out the cheeks and limbs.
Frequently asked questions
How many heads tall is a child in a drawing? It depends on age. A young child is roughly four to six heads tall, a six-year-old about six heads, and a twelve-year-old about seven heads, while an adult is about seven and a half to eight. The younger the child, the bigger the head looks compared to the body.
Why do my kids look like small adults? Almost always because the head is too small and the eyes sit too high. Make the head larger, drop the eye line toward the middle of the face, and use fewer head-lengths for the body. Those three changes fix most "tiny adult" drawings.
How do you draw a child for beginners? Start with a vertical line marked into about five head-lengths, block in a big head and soft body shapes, add a stick frame for the pose, then build rounded limbs and place large, low-set eyes. Shapes and proportions come before any small details.
Keep drawing and coloring
A child is built from smaller skills, so practice the pieces too. Try how to draw a face for the proportions up close, how to draw a person for the full-body head-count method, and how to draw hair to finish the look. When you want to relax, browse our free coloring pages for kids, color a few girl coloring pages, or grab a prompt from our drawing ideas for beginners.