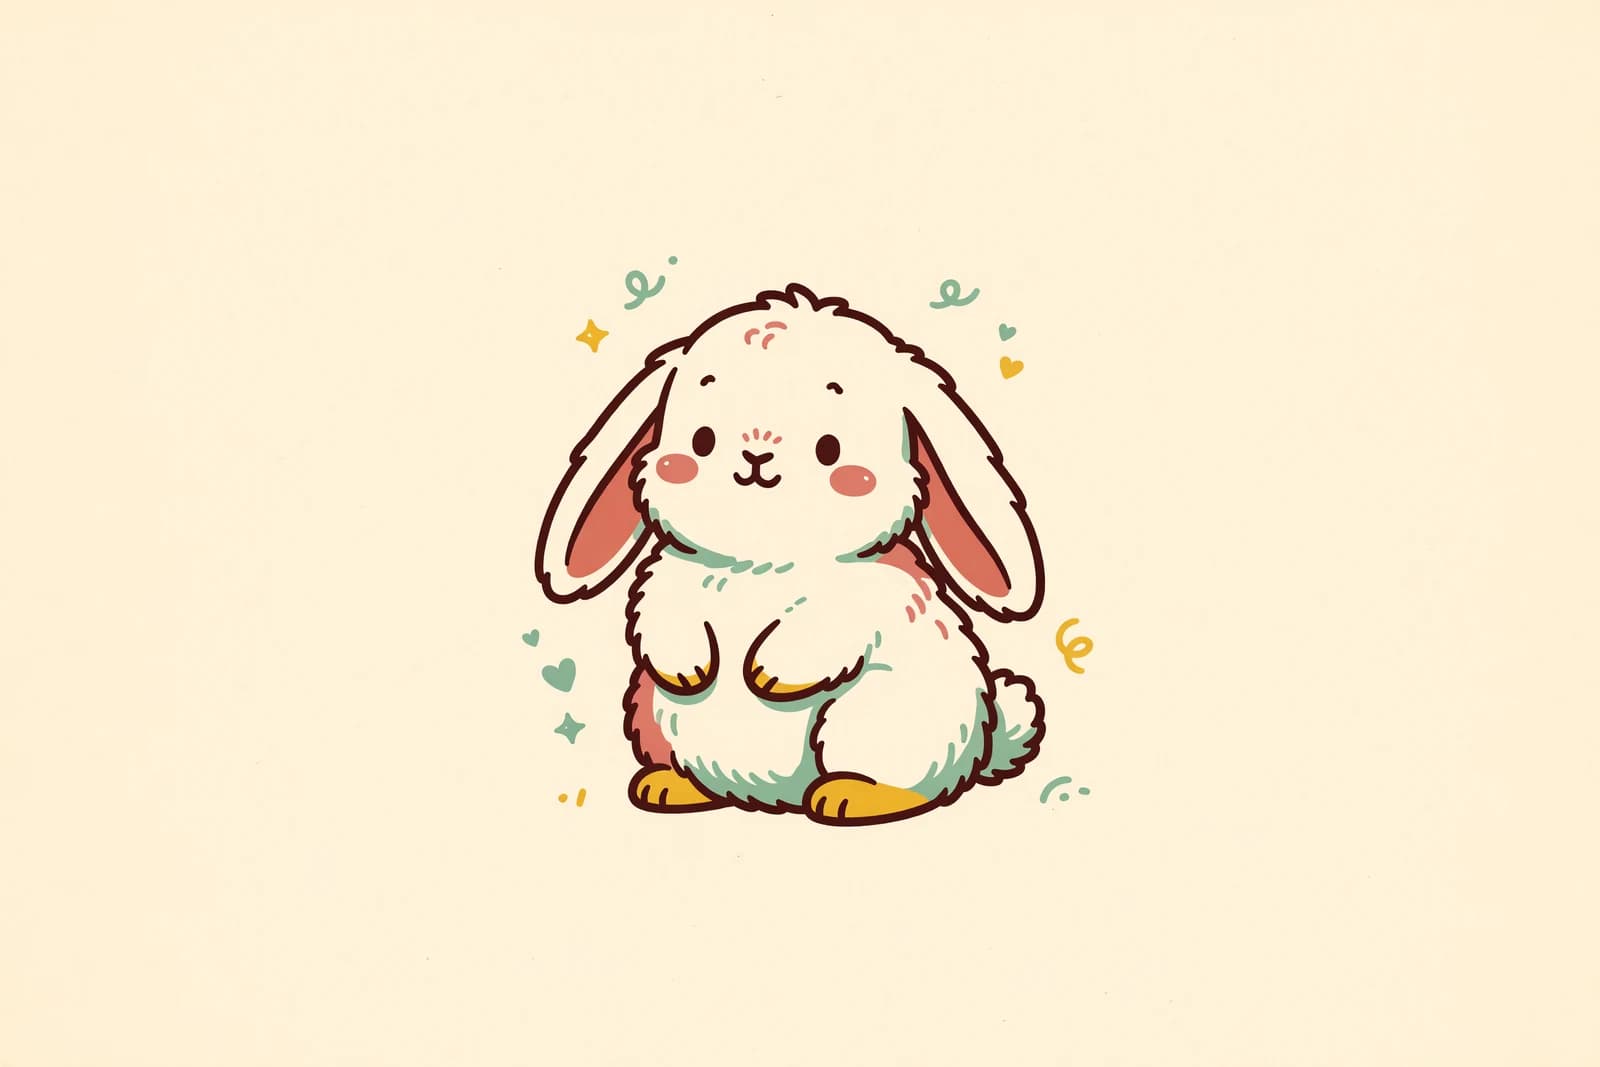
Learn how to draw a rabbit, also called a bunny, the easy way: from a round body and long ears to a fluffy tail. A beginner-friendly, step-by-step guide.
Rabbits are one of the sweetest animals to draw, because almost everything about them is round and soft: a plump body, a round head, two tall ears, and a puff of a tail. In this guide you'll learn how to draw a rabbit step by step, starting with two simple circles and finishing with a fluffy cotton tail. A rabbit is also called a bunny, so this same easy bunny drawing works whether you're after an Easter bunny or a cute pet rabbit. No experience needed.
We'll draw a sitting rabbit, since that's the easiest and cutest pose to get right. Keep your lines light at first, then darken your favorites at the end. Let's begin.
What you'll need
- A pencil and an eraser
- Plain paper
- Optional: a black pen for outlining, plus crayons, markers, or colored pencils
How to draw a rabbit step by step
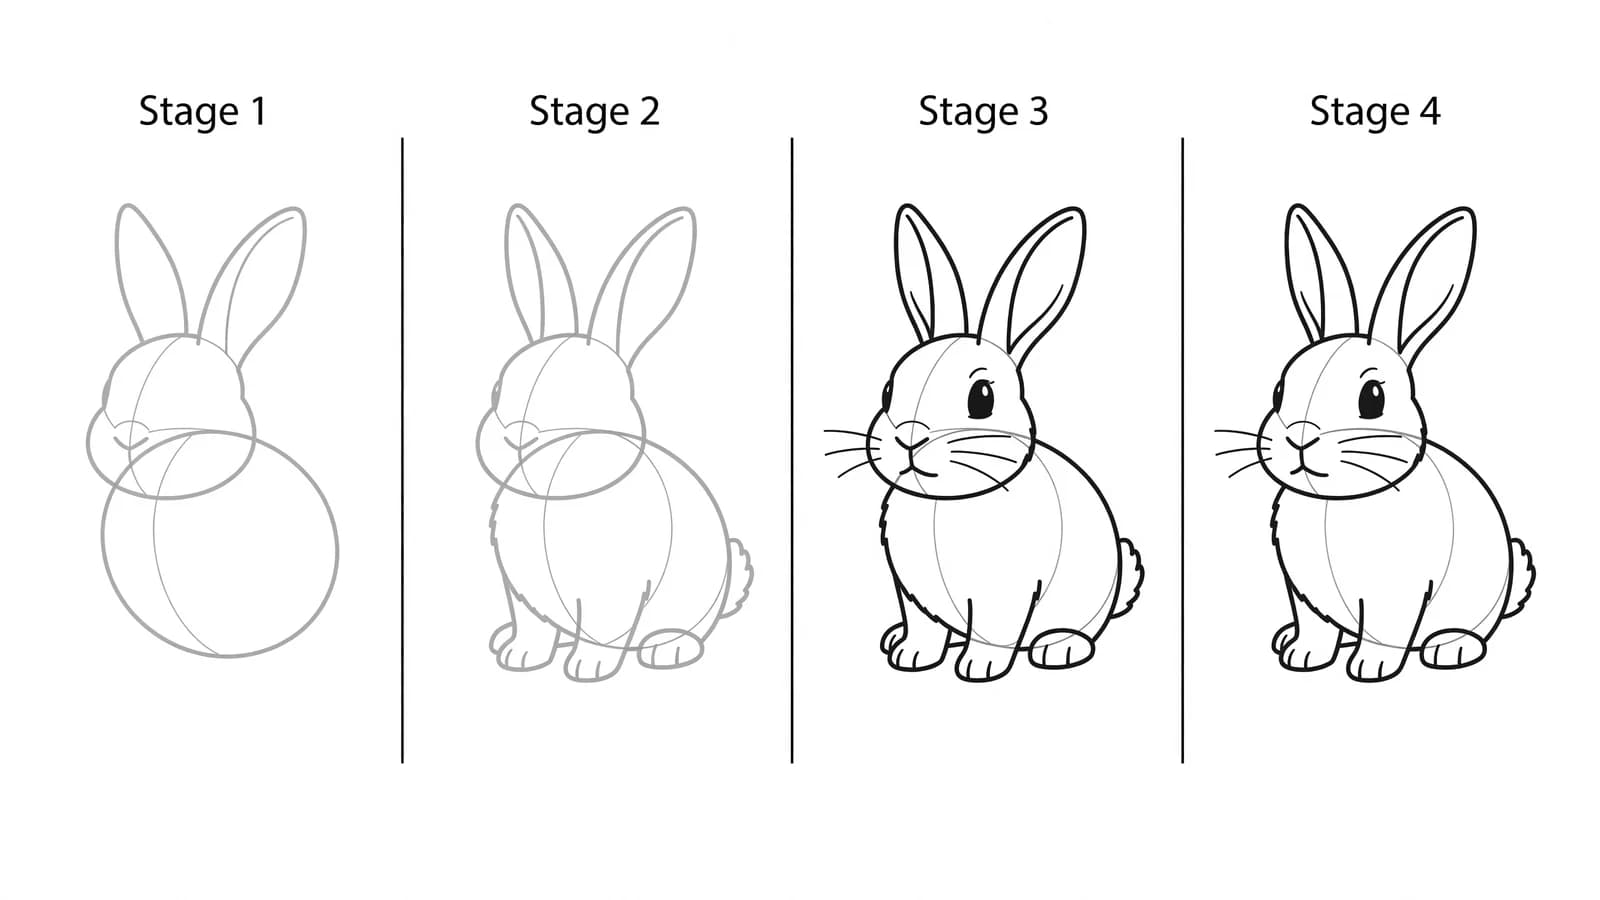
Step 1: Block in the head and body
Draw a light circle near the top for the head, then a larger egg shape below and slightly behind it for the body, letting them overlap. Illustrator Sabrina Hassler of Sabrillu teaches a similar start, blocking in soft ellipses and then imagining them "melting into one another" as you smooth the outline. Keep both shapes light so you can adjust them.
Step 2: Add the ears
Draw two long, rounded ears rising up from the top of the head. Rabbit ears are tall and shaped like soft, stretched ovals. You can stand them both straight up, or flop one over for a playful look. The ears are where your bunny gets its personality, so pick a shape you love.
Step 3: Draw the face
Add two big round eyes on the head, set a little low for a cute look. Below them, draw a small triangle or rounded nose, then a tiny Y-shaped mouth underneath. Add a few whisker lines on each side. Big eyes set low are the secret to a sweet bunny face.
Step 4: Add the inner ears and cheeks
Draw a thinner oval inside each ear to show the soft inner part. Then add two little rounded cheeks at the sides of the face for that chubby, fluffy look. These small touches make the rabbit feel soft and huggable.
Step 5: Draw the front paws and feet
Since the bunny is sitting, draw two small front paws resting together near the bottom of the body. Then add two larger back feet stretching forward along the ground on each side. Rabbit back feet are long and flat, which is what lets them hop, so make them noticeably bigger than the front paws.
Step 6: Add the fluffy tail
Draw a small round puff at the back of the body for the tail. A bunny tail is just a fluffy cotton ball, so make the edge a little bumpy and soft rather than a clean circle. This tiny detail instantly says "rabbit."
Step 7: Outline and erase your guides
Trace the lines you want to keep with a firmer stroke or a black pen, then erase the leftover guide marks where the head and body overlapped. Drawing teacher Kathy Barbro at Art Projects for Kids has students draw fur lines "lightly with pencil" first, then ink over them and erase the pencil, so your guide lines never show. Add a few short fur strokes on the chest and cheeks for texture.
Step 8: Color your rabbit
Color your bunny any way you like: soft gray, warm brown, white, or a fun pastel for an Easter rabbit. If you're shading, build the color up gradually. Sabrina Hassler cautions beginners not to make shaded areas too dark at first, because it's much easier to darken later than to lighten. Leave the belly and inner ears a little paler, and add a pink touch inside the ears and nose.
What artists recommend (and common mistakes)
- Start with two soft shapes. Block in a circle head and an egg body and let them melt together, the way Sabrina Hassler teaches, instead of outlining the whole rabbit at once. The shapes keep your proportions round and right.
- Don't go too dark too soon. A common beginner mistake when shading is pressing hard right away. Hassler advises building tone gradually from light to dark, since you can always add more but can't easily take it back.
- Big eyes, set low. This instantly reads as cute. Small eyes set high make a rabbit look more wary than sweet.
- Make the back feet big. Beginners often draw all four feet the same size. Long, flat back feet are what make a rabbit look like a rabbit.
Fun variations to try
- An Easter bunny: Stand the ears up tall, add a basket of eggs, and pick bright pastel colors.
- A loaf bunny: Tuck all the legs under the body so it sits like a fuzzy rounded loaf, ears down.
- A hopping bunny: Stretch the body out long, push the back legs back, and lift the front paws for a mid-hop pose.
- A baby bunny: Make the head bigger than the body and the eyes extra large for a tiny, newborn look.
Frequently asked questions
How do you draw a rabbit for beginners? Start with a circle for the head and an egg shape for the body, then add two long ears, a face, front paws, big back feet, and a fluffy tail. Building from two soft, round shapes is the easiest way to keep a bunny in proportion.
How do you draw a cute bunny? Make the head round and large, give it two big eyes set low, add chubby cheeks, and keep all the shapes soft and round. A puffy tail and a little pink nose finish the cute look.
Is a rabbit the same as a bunny? Yes, "bunny" is just a friendly word for a rabbit, often used for young or pet rabbits. The drawing steps are exactly the same whether you call it a rabbit or a bunny.
Keep drawing and coloring
Once your bunny is hopping happily, give it some friends. Try how to draw a bird or how to draw a cow next, browse our cute things to draw for more ideas, then print our free animal coloring pages to color a whole meadow of your own.