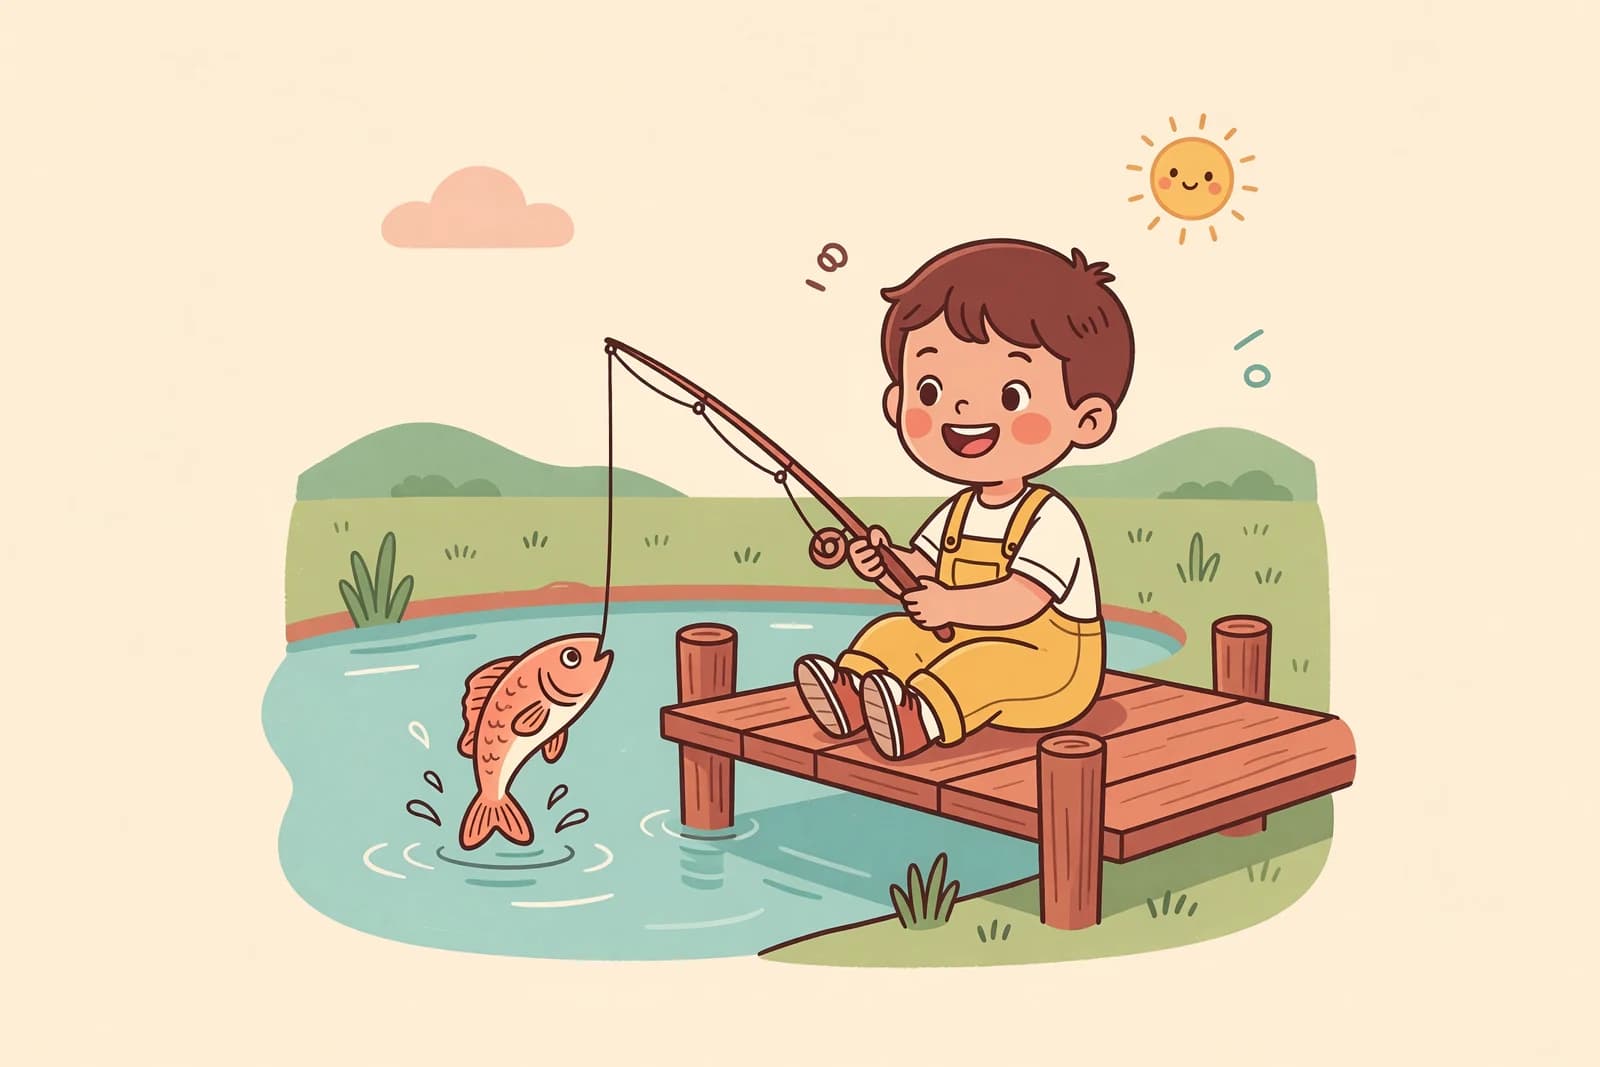
Learn how to draw fishing the easy way: a person on a dock with a rod, a line, and a happy fish below. A friendly, step-by-step fishing scene for beginners.
A fishing scene sounds like a lot to draw, but it breaks down into simple parts: a person made of a few ovals, a long thin rod, a curving line, and one happy fish below the water. In this guide you'll learn how to draw fishing step by step, from a person sitting on a dock to the rod, the bobber, and the catch. No experience needed, and you can make it a quiet lake, a pier, or a little rowboat scene.
Keep your lines light so you can move things around, then darken the lines you like. Let's go fishing.
What you'll need
- A pencil and an eraser
- Plain paper
- Optional: a ruler for the rod, a black pen, plus crayons or markers
How to draw fishing step by step
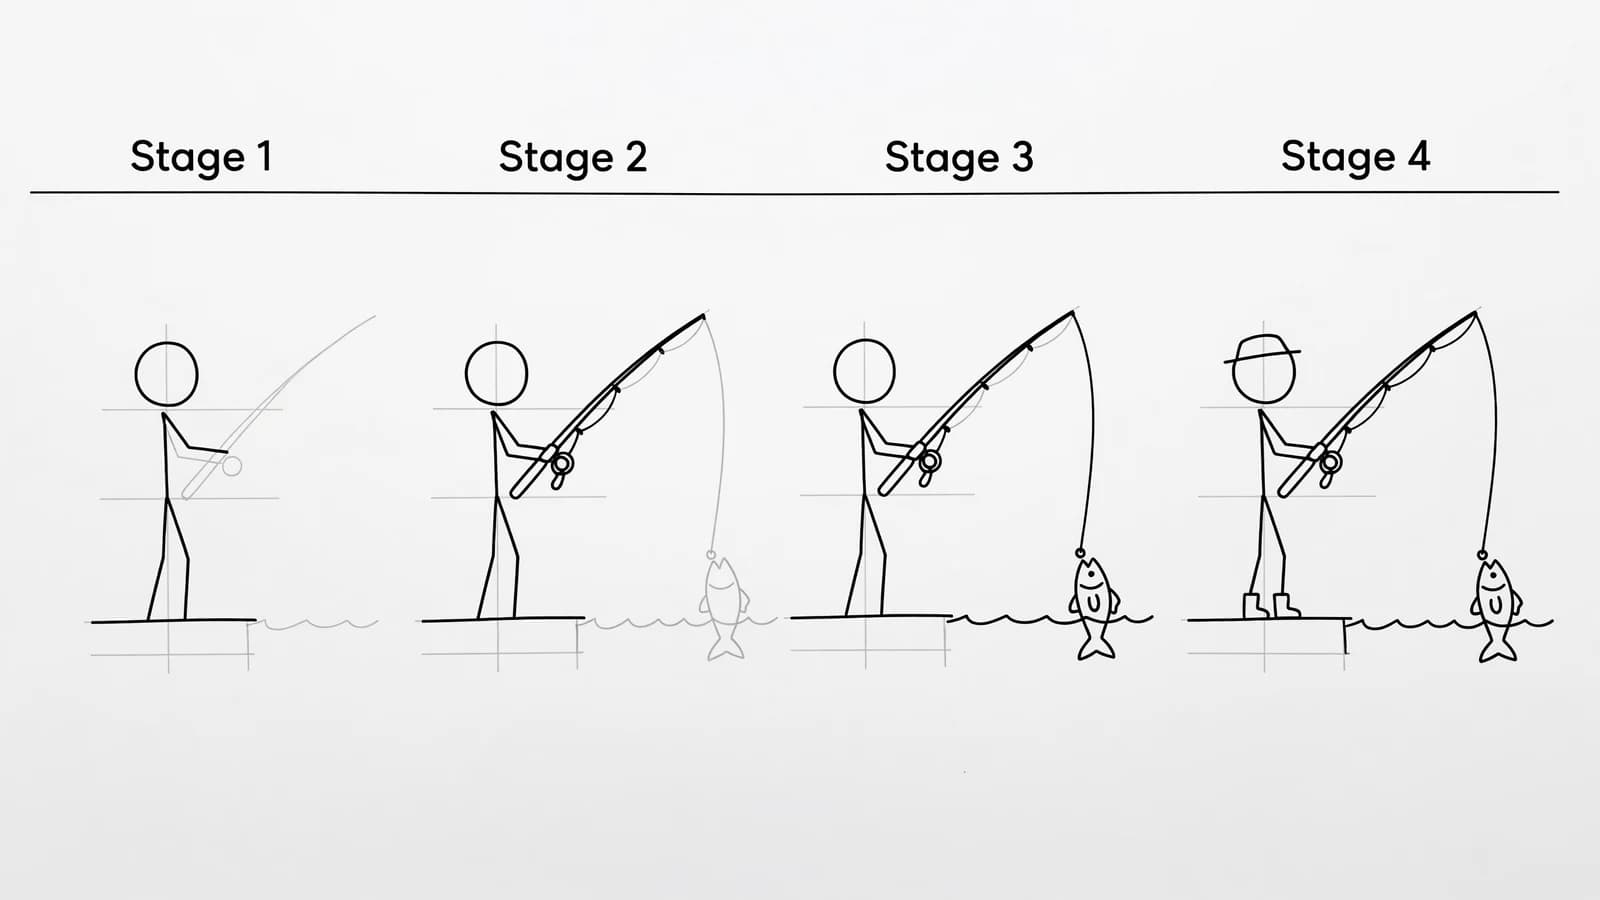
Step 1: Draw a light guide
Lightly sketch a long horizontal line for the dock and a second wavy line below it for the top of the water. Drawing teacher Mark Kistler calls these first soft strokes "whisper lines," because pressing lightly lets you build the scene in easy-to-fix layers (Mark Kistler on 21Draw). Looking at a photo of someone fishing first can also help you place the person and rod (The Kitchen Table Classroom). Press lightly so you can erase later.
Step 2: Block in the person with simple shapes
Sketch the fisher from basic shapes: an oval for the head, a rounded box or oval for the body, and simple tubes for the arms and legs. Build figures and animals from a few simple shapes first, then refine them, the same way artist Nicole Miyuki teaches kids to start a fish from an oval and a triangle (Let's Make Art Kids). Seat the person near the edge of the dock with legs hanging down.
Step 3: Add the face and details
Give your fisher a happy face: two dots for eyes, a curved smile, and a little hat or cap. Draw the hands as small mitten shapes, since one will hold the rod. Keep the body relaxed and leaning slightly forward, the way someone watching their line would sit.
Step 4: Draw the fishing rod
From the front hand, draw a long thin line angling up and out over the water for the rod. A ruler keeps it straight, or a steady freehand line works too. Add a small handle and a tiny reel circle near the bottom where the hand grips it.
Step 5: Add the line, bobber, and hook
From the tip of the rod, draw a thin curved line dropping down into the water. Add a small round bobber floating where the line meets the surface, then continue the line below the water to a tiny hook. The gentle curve of the line makes it look like it is hanging, not stiff.
Step 6: Draw the fish
Below the surface, near the hook, draw a friendly fish from simple shapes: an oval body, a triangle tail, a couple of small fins, and a dot eye. Building the fish from these basic shapes keeps it easy and cute (Let's Make Art Kids). Have it looking up toward the bait for a fun story.
Step 7: Add the scene
Draw a few posts under the dock, some wavy lines and tiny bubbles in the water, and maybe a cloud or a sun in the sky. A bucket or a tackle box beside the fisher adds to the story. These extras turn a single figure into a whole fishing scene.
Step 8: Outline and color
Trace the lines you want to keep with a firmer stroke or a black pen, then erase your guide lines and stray marks (Mark Kistler on 21Draw). Color the water blue, the dock brown, the fish a bright shade, and the fisher's clothes however you like. Add little ripples around the bobber.
What artists recommend (and common mistakes)
- Whisper your lines first. Light construction strokes let you build the scene in layers and fix mistakes before you commit (Mark Kistler on 21Draw).
- Build everything from simple shapes. Start the person and the fish from ovals, boxes, and triangles, then refine. A common beginner mistake is drawing a whole figure or fish in one go, which leads to crooked proportions (Let's Make Art Kids).
- Use a reference. Looking at a photo of someone casting or a real fish helps you place the rod, pose, and fins in believable spots (The Kitchen Table Classroom).
- Curve the line. A fishing line that hangs in a soft curve looks natural, while a stiff straight drop looks frozen.
Fun variations to try
- Fishing from a boat: Swap the dock for a little rowboat with the fisher sitting inside.
- A big catch: Bend the rod into a deep curve and draw a giant fish leaping out of the water.
- Ice fishing: Draw a small hole in the ice, a bundled-up fisher, and a tiny fish below.
- Just the rod: Skip the person and draw a single fishing rod, reel, and line as a simple study.
Frequently asked questions
How do you draw a fishing scene for beginners? Start with light lines for the dock and water, build a person from simple ovals, add a long thin rod and a curved line, then a little fish below. Draw the big shapes first and the details last.
How do you draw a fishing rod? Draw one long thin line for the pole, add a small handle and a round reel near the bottom, then a curved line dropping from the tip with a bobber and a tiny hook. A ruler keeps the pole straight.
How do you draw a person fishing easy? Block the body in from an oval head, an oval body, and tube arms and legs. Seat them on the dock, give one hand the rod, add a happy face, then build out the line and fish.
Keep drawing and coloring
Ready for more? Reel in how to draw a fish for the perfect catch, or float along with how to draw a boat. Browse a list of easy things to draw for your next idea, then print free coloring pages to color fish, boats, and more.